In order to use the BoM, it is very important that the menu, recipe and accompanying ingredients information is complete and correct in your library. If not, the orders may contain wrong ingredients, quantities or prices. If you want to learn more about creating recipes or just refresh your memory, read this article. For more information on filling out new ingredients, look here. We also have an article on creating menus that you can read here.
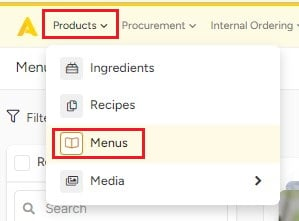
- Start by selecting the "Menu" in the Product module.
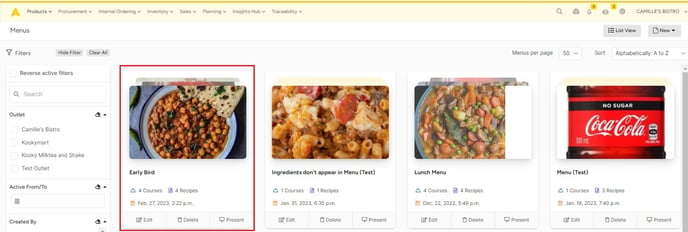
- The menu grid will appear and you can select the menu for which you want to generate a BoM.
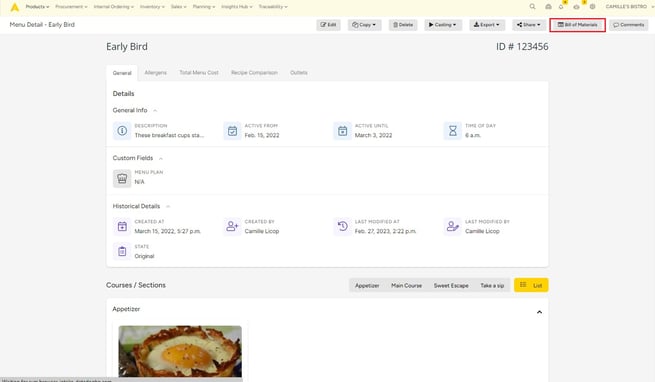
- Once the menu is opened, you click the "Bill of Materials"' button in the top grey toolbar.
- A popup will appear, where you need to select the outlet that will be making the menu.
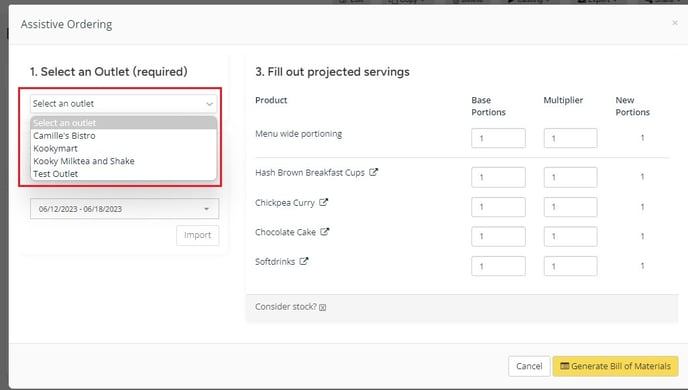
- You can fill in the menu-wide portioning. Let's say you need 10 portions of every dish. You enter 10 in the menu-wide portioning field.
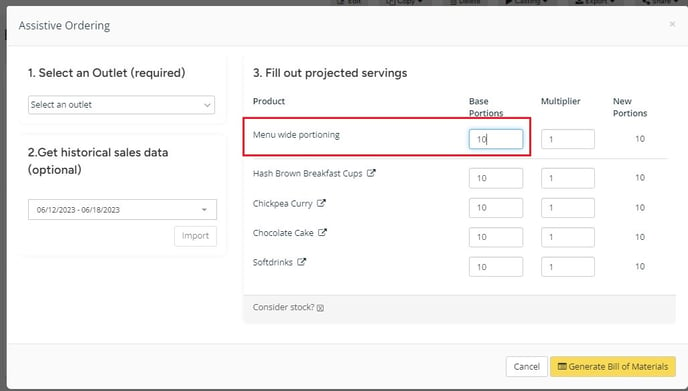
Apicbase will automatically fill in 10 portions of every dish.

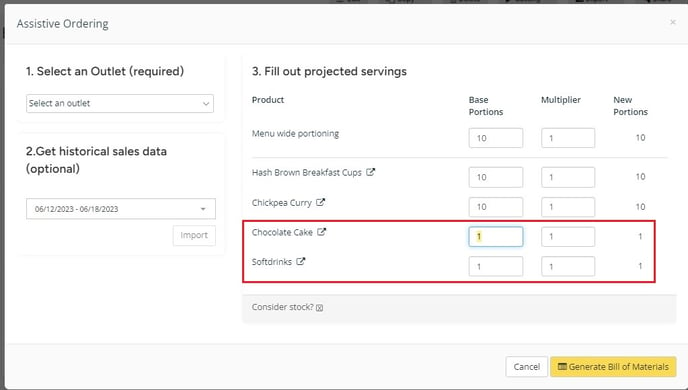
You can, however, change the portioning for individual recipes if needed.
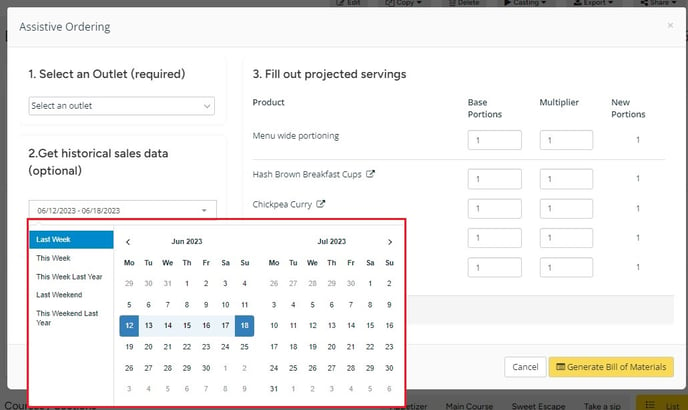
Another handy feature in Apicbase is to generate a Bill of Materials of a menu according to your sales events. If sales data is available in your library, you can choose a certain period and import the sales data for that period. Apicbase will generate the Bill of Materials for every item sold during that period (from this specific menu).
Generate a Bill of Materials
After inputting all the correct settings in order to generate the correct BoM, click the "Generate Bill of Materials" button.

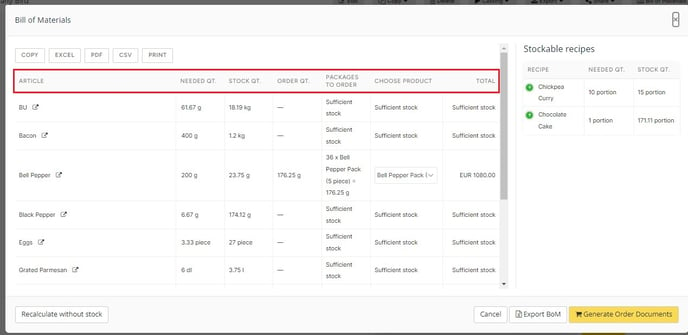
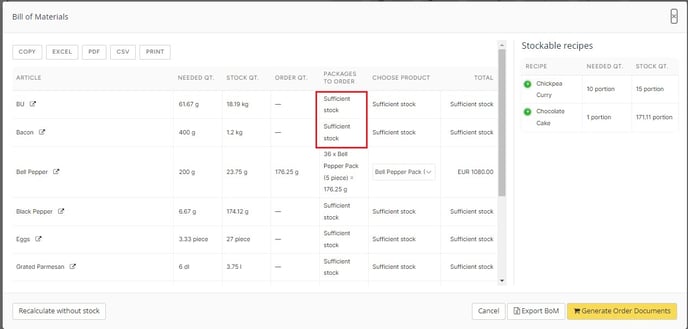
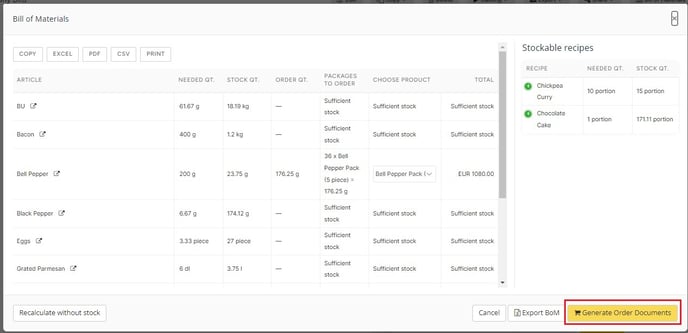
You will get a list of the needed ingredients:
-
- Article: the name of the ingredient.
- Needed Qt.: the quantity you need to make the necessary portions.
- Stock Qt.: the available stock quantity.
- Order Qt.: the quantity you need to order.
- Packages to Order: This column will give you insight what ingredients you need to order
-
- Choose a product: In this column, you can select the product you want to order. Apicbase will automatically select the last ordered ingredient (LO), but you can also order the cheapest product for this order (C) in the dropdown.
- Total: This column shows the total price of the amount you will order.
It is possible that you receive the following warning:

This warning can only have a few reasons:
- Your ingredient is not set to "orderable" (click here for the solution)
- Your ingredient is not linked to the outlet (click here for the solution)
- You've archived your ingredient (click here for the solution)
- The ingredient has been deleted (we strongly advise you to NOT delete anything so you can always consult its history)
For the ingredients that have enough stock, you see "Sufficient Stock" in the Packages to Order Column.
If this BoM is correct, you can either export the BoM to an Excel file or generate the order in Apicbase. On the top, you find several other options for exporting or printing the BoM.
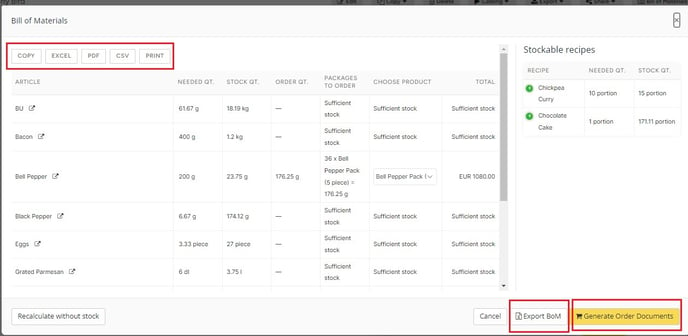
Export BoM
Click on the "Export BoM" button, if you want to export the BoM as an Excel. The Pop-up message of "Go to Export"
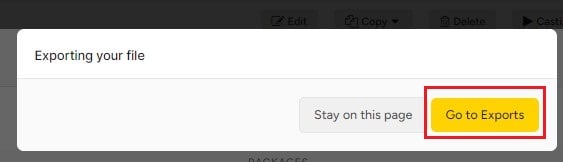
You will be redirected to the "Export file" and you can now download the file.

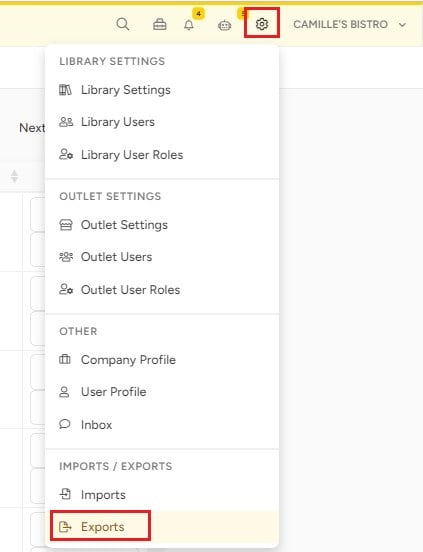
You can also check and find the Exports section by clicking on the "Settings button" in the upper right corner.
Generate Order Documents
If you push the "Generate Order Documents" button, you will be redirected to the ordering module.
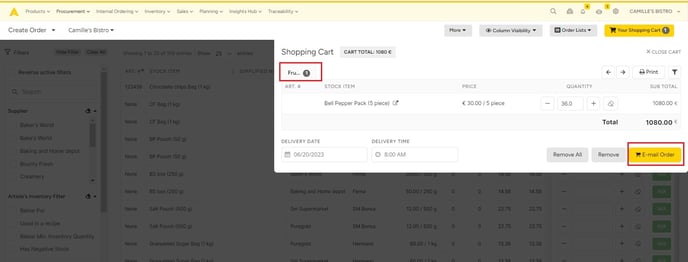
The orders for this BoM will be shown in your shopping cart. There will be an order form for every supplier you need to order from.
- Click on the tabs on top to change between orders.
- You can set a delivery date and delivery time for every order.
- If you click the "Email Order" button in the lower right corner, you will place the order and receive an affirmation mail per order. This has to be done per supplier.
- You can also cancel an order by clicking the "Cancel" button.
You don't have to place all the orders at this moment. If you leave the screen, your orders will remain in the Procurement tab. You can reach them by clicking on "Create Orders".