- Go to "Planning" in the yellow bar, then click "Production plan".

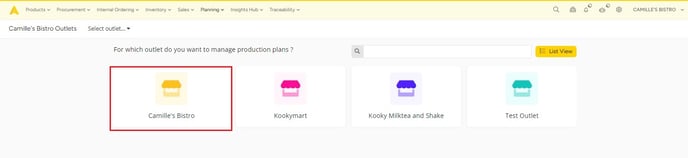
- Select the outlet for which you want to create a production plan.
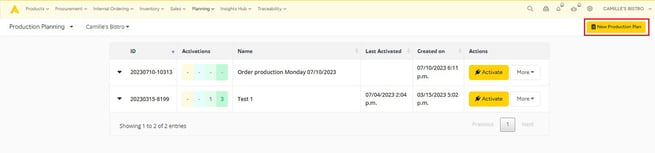
- Click on "New Production Plan" in the grey bar at the top of your screen.
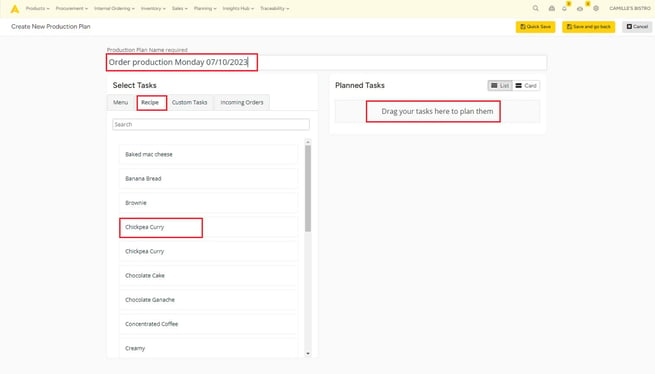
- Give your plan a name and drag the recipes and menus on the left you want to create to the right-hand column "Planned Tasks".
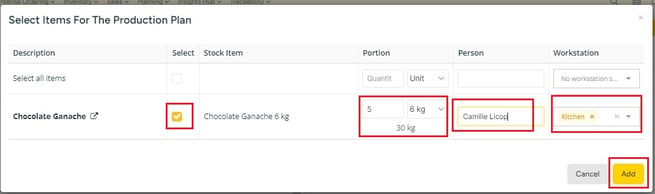
- A popup appears where you can enter how many portions/units to create, to whom you want to assign it, and in which workstation* it should be created. In this case, 30 kg of Chocolate Ganache will be made by Camille in the Kitchen. Click on add, to add to your Production plan.
- When there are sub-recipes to be made for the preparation of this recipe, these are automatically added in the right amount. I have selected to make 5 portions of my Chickpea Curry. I need 312.5 g of Curry paste for this. However, if I have my stock, I can uncheck the box, so it will not be added to my production plan.

Tip: Would you like to set the same number of portions, person, and workspace for all recipes? Then use the checkbox next to "select all items" and fill in the information on the top line. This will then be filled in for all selected recipes. Here and there you can still make adjustments if necessary per recipe.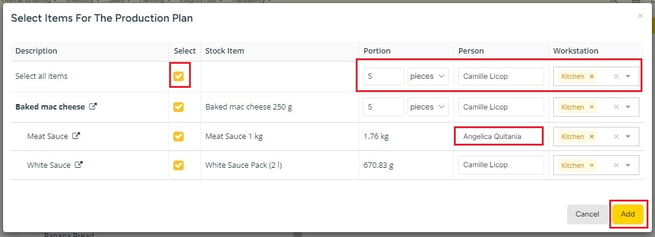
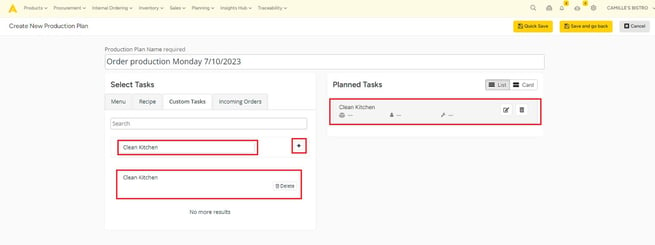
- You can also add custom tasks if you want. These are tasks other than preparing food, like cleaning working stations, taking out the trash,... Just select the "Custom Tasks" tab and fill in the name of the task. When you have filled in the name, you can click on the "+" symbol. Drag the task to the right and it is added.
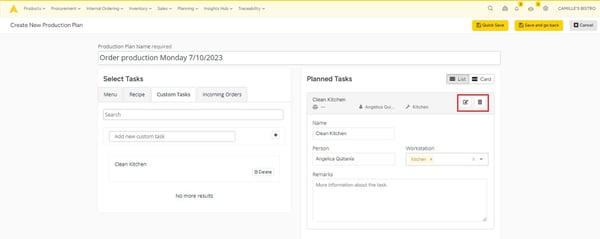
- If you want to edit or remove a task, click the Edit button in the Scheduled Tasks column to make the changes and the Save or Remove button in the Scheduled Tasks column and Close.
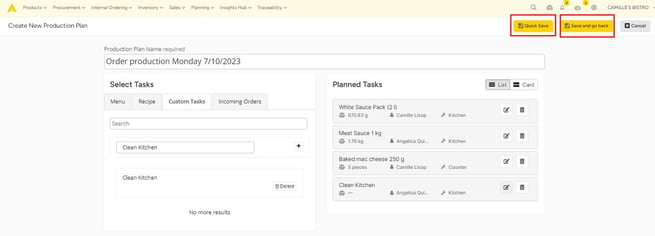
- If you have added all the tasks, just click on "Quick Save" if you want to edit or add another task later on or "Save and Go Back" then your production plan is ready!
*Note: workplaces can be set up per outlet. To set this up, go to Settings (the cogwheel icon) > "Outlets" > Click on "Edit outlet settings" of the desired outlet. Then click on the "custom fields" tab. Under Custom MEP fields, you will see Workstation. Click the pencil to add workstations.
You can use this module with internal ordering. Please read this article to learn how.