In this article, you can discover how to add a new user to a library or outlet.
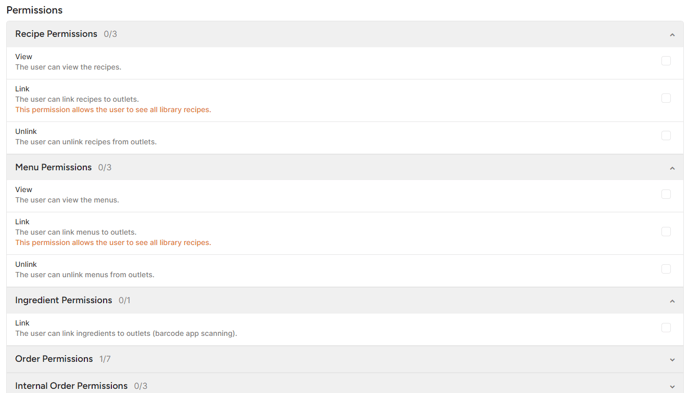
Each user, Library and Outlet user, need to be assigned to a role and specific permissions! Otherwise the user might not be able to work in Apicbase.
Table of Content
- Add Library Users
- How to set library users permissions
- Add Outlet Users
- The difference between a library user and an outlet user
1. Add Library Users
To add users to your library, in order for them to be able to access the library with their own account, follow the steps below:
- Go to "Library Users" in the "Settings" section in the navigation bar.
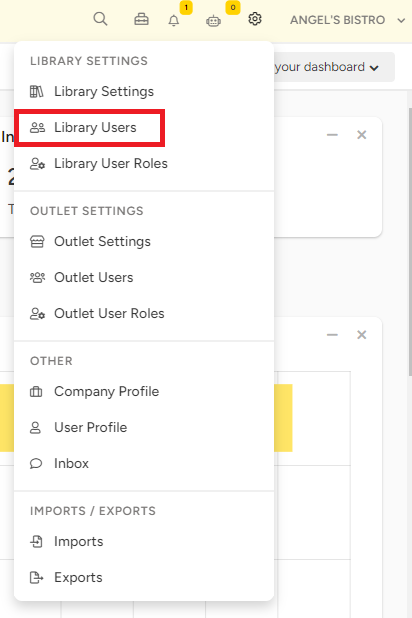
- You will see an overview of all the users that are already connected to your library, along with their permissions. To add a user, find the '+add library user' on the top right above the user list.

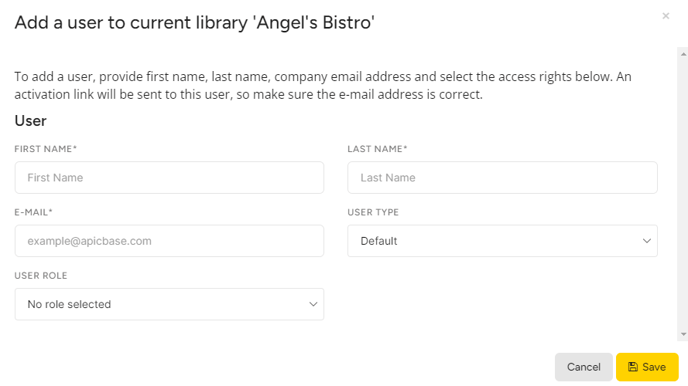
- A pop-up will appear.
- Fill out all the details that are asked: first name, last name and email address. Make sure the email address is correct, as the new user will receive an activation email on that email address.
-
- Click "Save". The user will be added to the user list, but not be activated yet. The new user will receive an email that contains an activation link to activate the account and set a new password. Once the password is set, the new user can log in to apicbase.com.
- In case the newly added user does not receive any email (also check the spam folder), you will see a little lock behind their name. By clicking on this, you will also be able to see the activation link. Using this link will also activate their account.
If you have used up all of your available library users, then please contact support@apicbase.com to up this number.
Library users can also get restricted permissions.
2. How to set library users permissions:
-
- click on + add user role
- a new filed will open
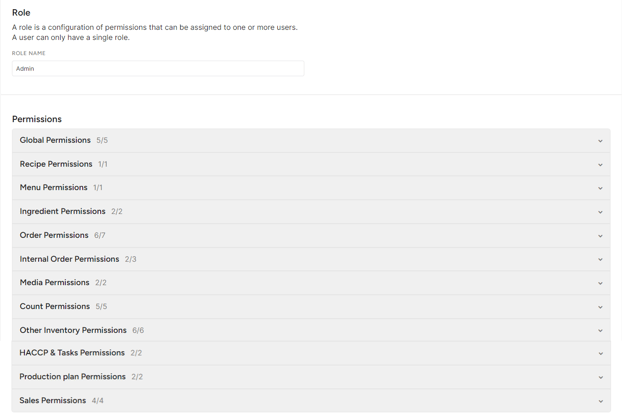
- now you can give a name to the specific role under "Role name"
- choose the specific permission the library user should get
- click on bottom left on "add"
3. Add outlets users
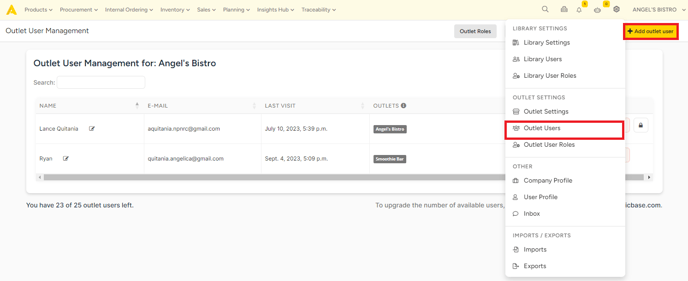
To add users to a specific outlet, choose the ''Outlet Users'' tab in the "Settings" section in the navigation bar.
- Click on the "+ add outlet user" button and fill out the details of the user you would like to add.
- Choose the outlets to which the users should have access and their role in those outlets. Read more about the outlet roles here.
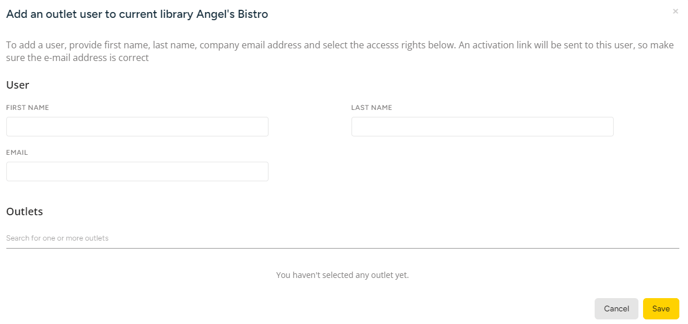
Fill in the details and click on "Save Changes". The new outlet user will receive an email that contains an activation link to activate the account and set a new password. Once the password is set, the new outlet user can log in to apicbase.com.
If you have used up all of your available outlet users, then please contact support@apicbase.com to up this number.
4. The difference between a library user and an outlet user
A library user is a user that manages your Apicbase library, they can create recipes, add ingredients, change settings, add users... They will be able to do this for your whole library and so for all of your different outlets. (if given these permissions)
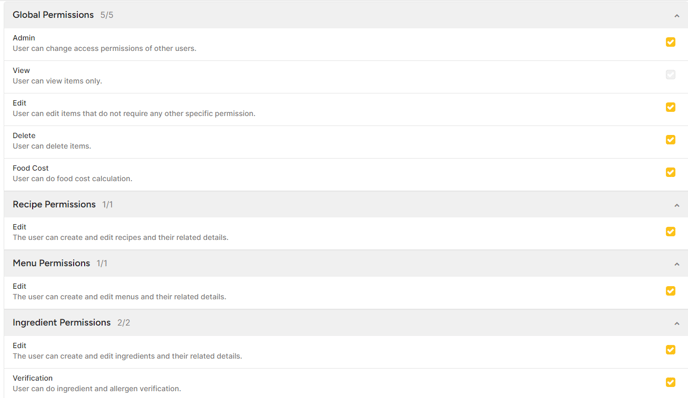
An outlet user will be able to have the same permissions, but only for the specific outlet that they are assigned to. Here you'll be able to create an 'outlet-role' that you'll be able to assign to each extra outlet user you add.
