Step 1: Export the template
If you want to add or change recipe information in bulk, just go to the recipe list in the "Products" module. To change recipe information in bulk, you first have to download a recipe export file. There are two ways to do this:
1.1 Download an export of a full list or a selection of recipes
Select the recipes you want to add information to. Click on "Export" and here you can download a list of the "Selected Items". If you want to download an export of all your recipes, just click on "Full List". (This only works in "List View", so if you are in grid view, first click on "List View" in the upper left corner.)
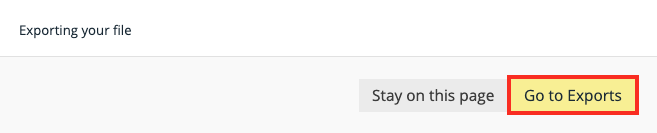
Your export will be saved in the "Exports" section. A popup will appear after the first time that will guide you there.
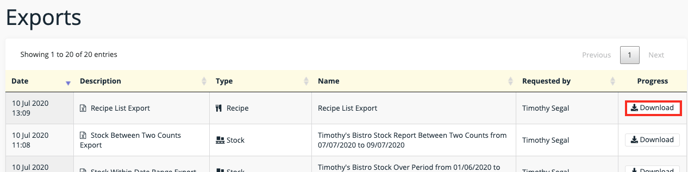
Look for the "Recipe List Export" in your Exports list and click on "Download".
1.2 Download an empty template
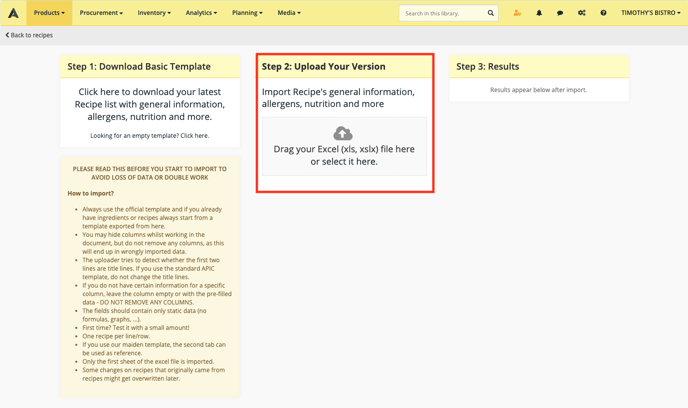
You can also download an empty template to create new recipes and add the info. Go to the recipe list, select "Import" and click on "Recipes".
In "Step 1", you can click on download an empty list.

Step 2: Fill in the Excel file
Open the file and you can fill in all the general information, portioning, financial information, production time, nutritional and allergen information. This file will also allow you to change the custom fields of your recipes.
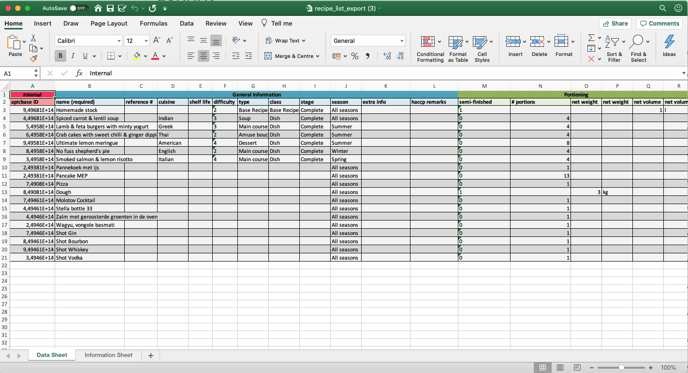
For the information like "cuisine", "type", "class",... be sure to use the right values, otherwise, you will get an error when uploading the file. It is also best to read the "Information Sheet" in the second tab. There you can find all the info you need to know about which values you can fill out in each column.
Fill in the necessary information and save the file.
Never change the Apicbase ID in column A. It is used to update the new information for the recipes.
Step 3: Upload the Excel file
Go back to the recipe list and click on "Import" and select "Recipes". You will be back in the 3 step screen. Select the saved file or drag and drop it in the step 2 window.
You will see the results in step 3 and you will get a popup to guide you to the Imports screen where you'll get an overview of the import.

You'll see the rows that were successfully imported, but also the problematic rows and the rows with warnings. Problematic rows contain errors and have not been uploaded. Rows with warnings are rows that have been imported but contain values that are unexpected and need to be checked.

If there are errors in the import file, you can download an error file with the erroneous rows. In the details you'll get feedback on the errors in the file, so you can change them and upload the error file to correct them. After correcting the file, save it again on your computer and repeat step 3. If you want to check the imported file, you can simply click the button to download it.
